Shrinky Dink Keychains
Learn how to make these adorable and simple Shrinky Dink keychains! I love seeing the kids art work or handprints on my keys everyday.
They make for the perfect gift for the holidays, birthdays, or special occasions.
All the important details are written below, so make sure to read through everything so these special gifts turn out the best.
A. Supplies you need
Here are the supplies you need to make Shrinky Dink keychains.
- Shrinky Dink Paper– there is a clear option or white
- Glossy Acrylic Paint– it has to be glossy acrylic paint- matte acrylic will make it chip
- Sharpies
- hole puncher
- keychains
- baking tray
- parchment paper (optional)
B. Directions
Make sure to follow all the directions below to ensure these Shrink Dink keychains or ornaments turn out correctly!
#1: Preheat the oven to 325 degrees F
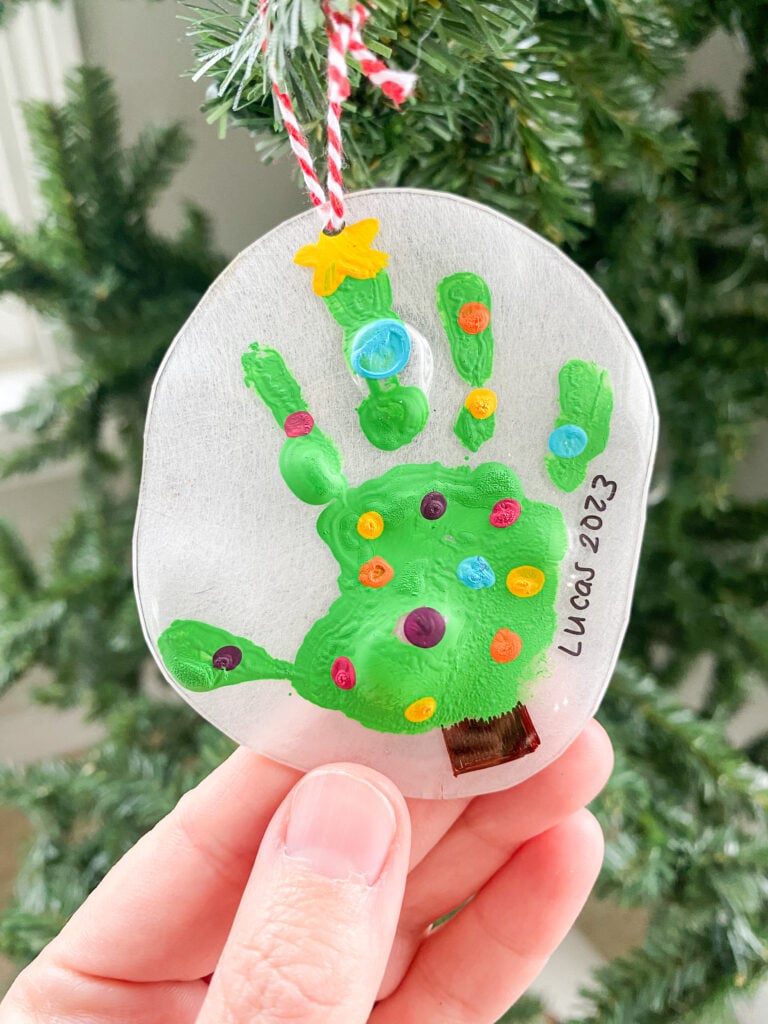
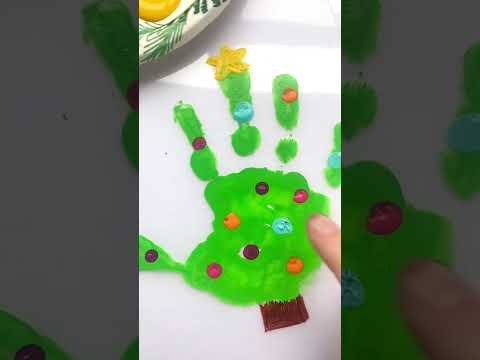
#2: Paint your little one’s hand using GLOSSY acrylic paint and make a print on the Shrinky Dink paper. Make sure to press their hand down so the entire thing will show up.
#3: If you want to make drawings instead of a handprint, you can do so using Sharpies!
#4: Cut the handprint/drawing out, making sure you leave some room around the image.
#5: If you want to create a keychain or ornament, use a hole puncher to create a hole at the top of the image.
#6: Set the Shrinky Dinks on a baking sheet covered in parchment paper(optional). Bake it for 2 minutes at 325 degrees. Keep an eye on it the entire time- if it starts to curl up, use a spatula to flatten it. The smaller the drawing handprint is, the better.
#7:Then, add your child’s name, the year, or a message on the keychain. Attach the keychain and give it as a present!
C. Final Thoughts and Conclusion
Making Shrinky Dinks are easy and fun! They are the perfect gift for someone special in your child’s life!
They make for great memories and keepsakes to keep over the years! This maybe a tradition you do each year even 🙂
Happy Holidays!
Deena


